Underwater Image Enhancement
Posted: December 18, 2023
Last edited: October 19, 2025
References
- [1]: Aalborg University Report: Link
- [2]: Aalborg University Report Image: Link
- [3]: Third Semester Project Source Code: Link
- [4]: C# Video Processing Application Source Code: Link
Introduction
During my third semester at Aalborg University, my group and I worked on an underwater ROV (Remotely Operatde Vehicle) project where a M2 Pro Max ROV, developed by CHASING Innovation, was provided for the project by the university. The motivation for the project was to investigate bottom trawling consequences in the danish coastal waters, namely Jammerbugten. The project included many studies, scientists, and members of the university who where in collaboration with us during this project.
There is a publicly available reference to this project on Aalborg University’s website which can be found [1].

Sonar image of a seabed where bottom trawling has been used. Image belongs to Aalborg University [2]
It is well-known that bottom trawling damages seafloors and as a result this project’s motivation was to investigate how the marine life and seafloor conditions were after restrictions on bottom trawling in Jammerbugten were implemented, which is where the drone came in. Marine biologists and other collaborators had already used this drone to get footage from the underwater terrain in Jammerbugten, however an elaborate mix of sediments which makes up the danish seafloors caused intense ‘marine snow’ (floating particles that are typically made up of lighter sediments) that made it significantly harder for marine biologists to recognize certain underwater features of marine life and underwater terrain. Our job was to try and improve visibility on the footage by applying computer vision to the pre-recorded footage. We wanted to see if color restoration was a possibility using OpenCV or maybe reduce or remove marine snow albeit very difficult as “removing” things from a frame (1 sample/image of n samples/images in sequence that makes up a video) causes a different issue which is what to replace it with. The color restoration was deeply inspired by the sea-thru algorithm.
The Project Approach
I want to highlight that this marks the first time any of us ever worked with computer vision, so the approach is very beginner-friendly. The attempt that was first made during the project was to achieve color restoration in Python using an OpenCV library for it. The ideal choice (in retrospect) would be to write the entire thing in C++, however it is crucial to furthermore note that the group had to find common ground, compromising efficiency for intuitiveness for those who had little or no experience in programming.
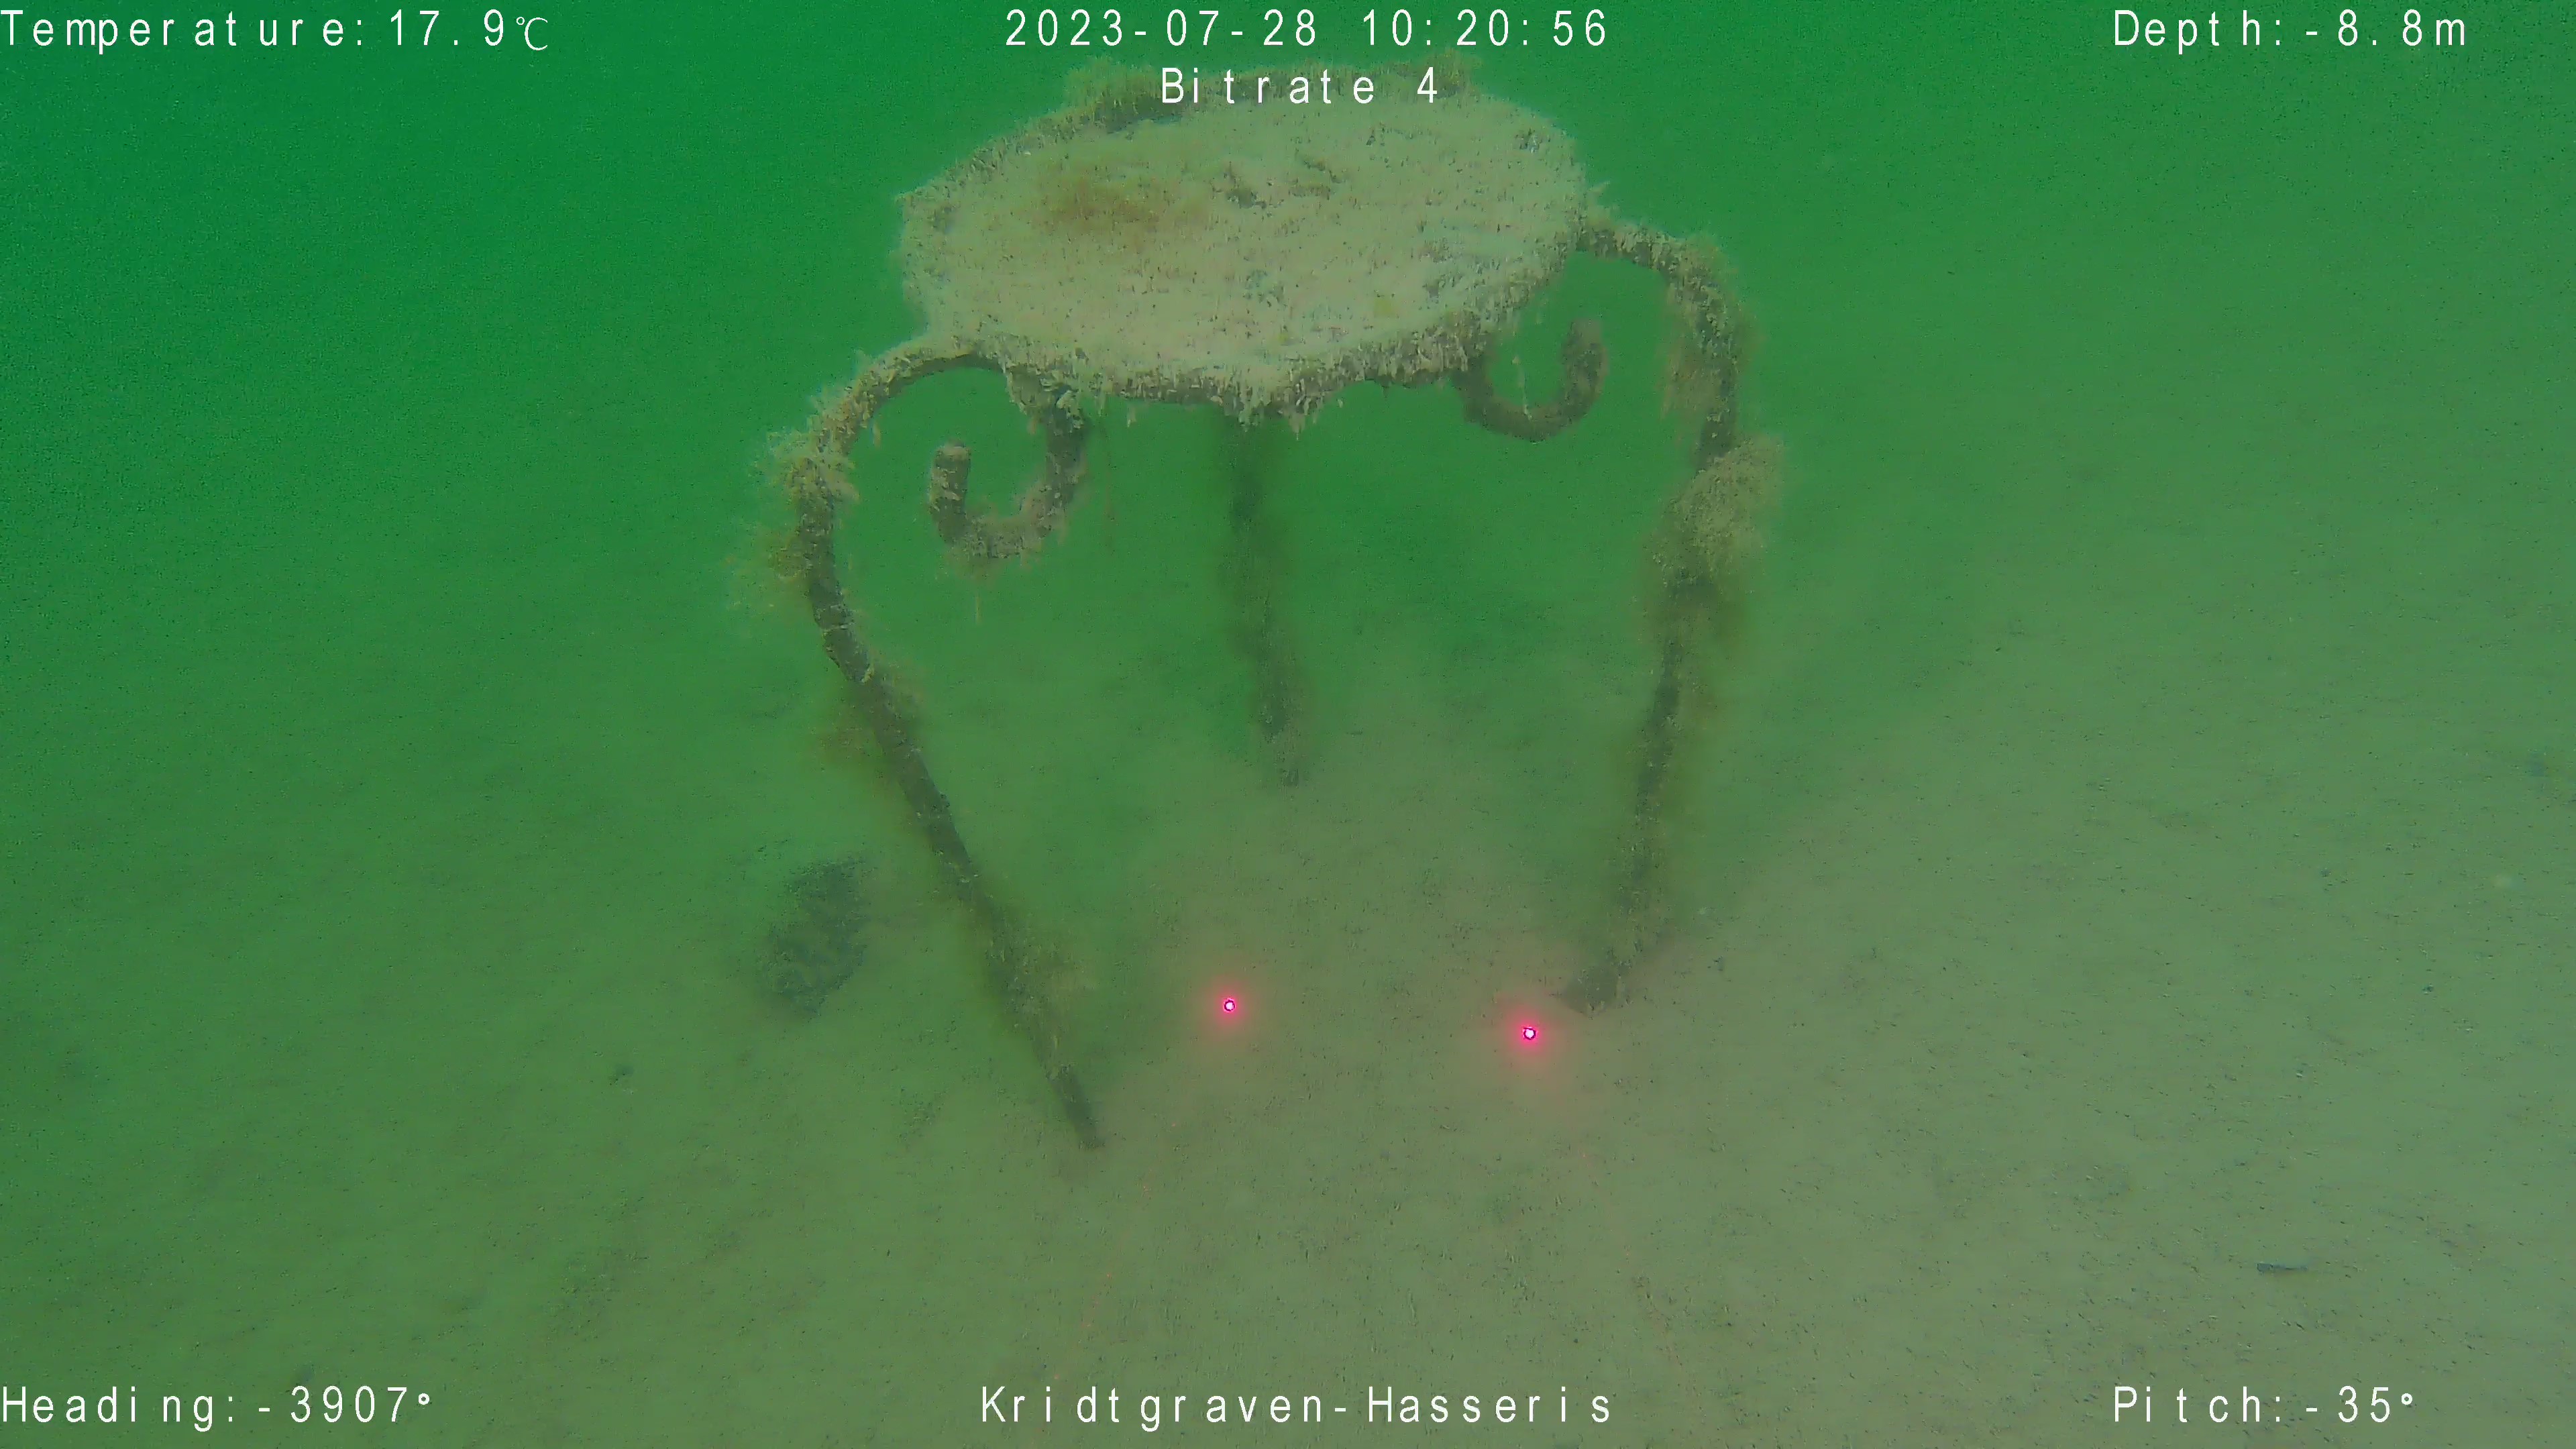
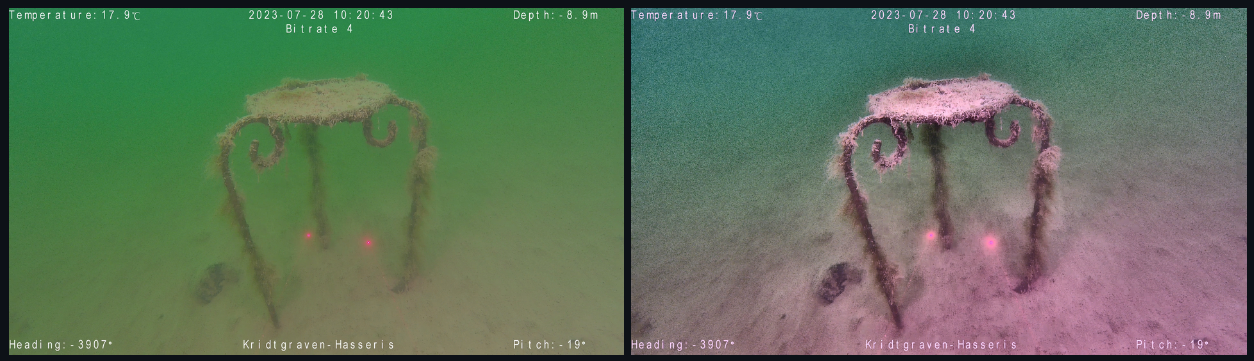
An image taken in Kridtgraven (a small pond we used for simulation before working on ocean footage from *Jammerbugten)*
The approach for color restoration was to first compensate color on the image BGR (Blue, Green, Red) channels based on the presence of green color. As you dive deeper into any body of water various wavelengths of light start to get scattered and absorbed leaving only a selection of colors (wavelengths) present at any depth. In our case we had a high presence of green color. Very often you would see a strong blue presence in underwater computer vision and color restoration projects globally.
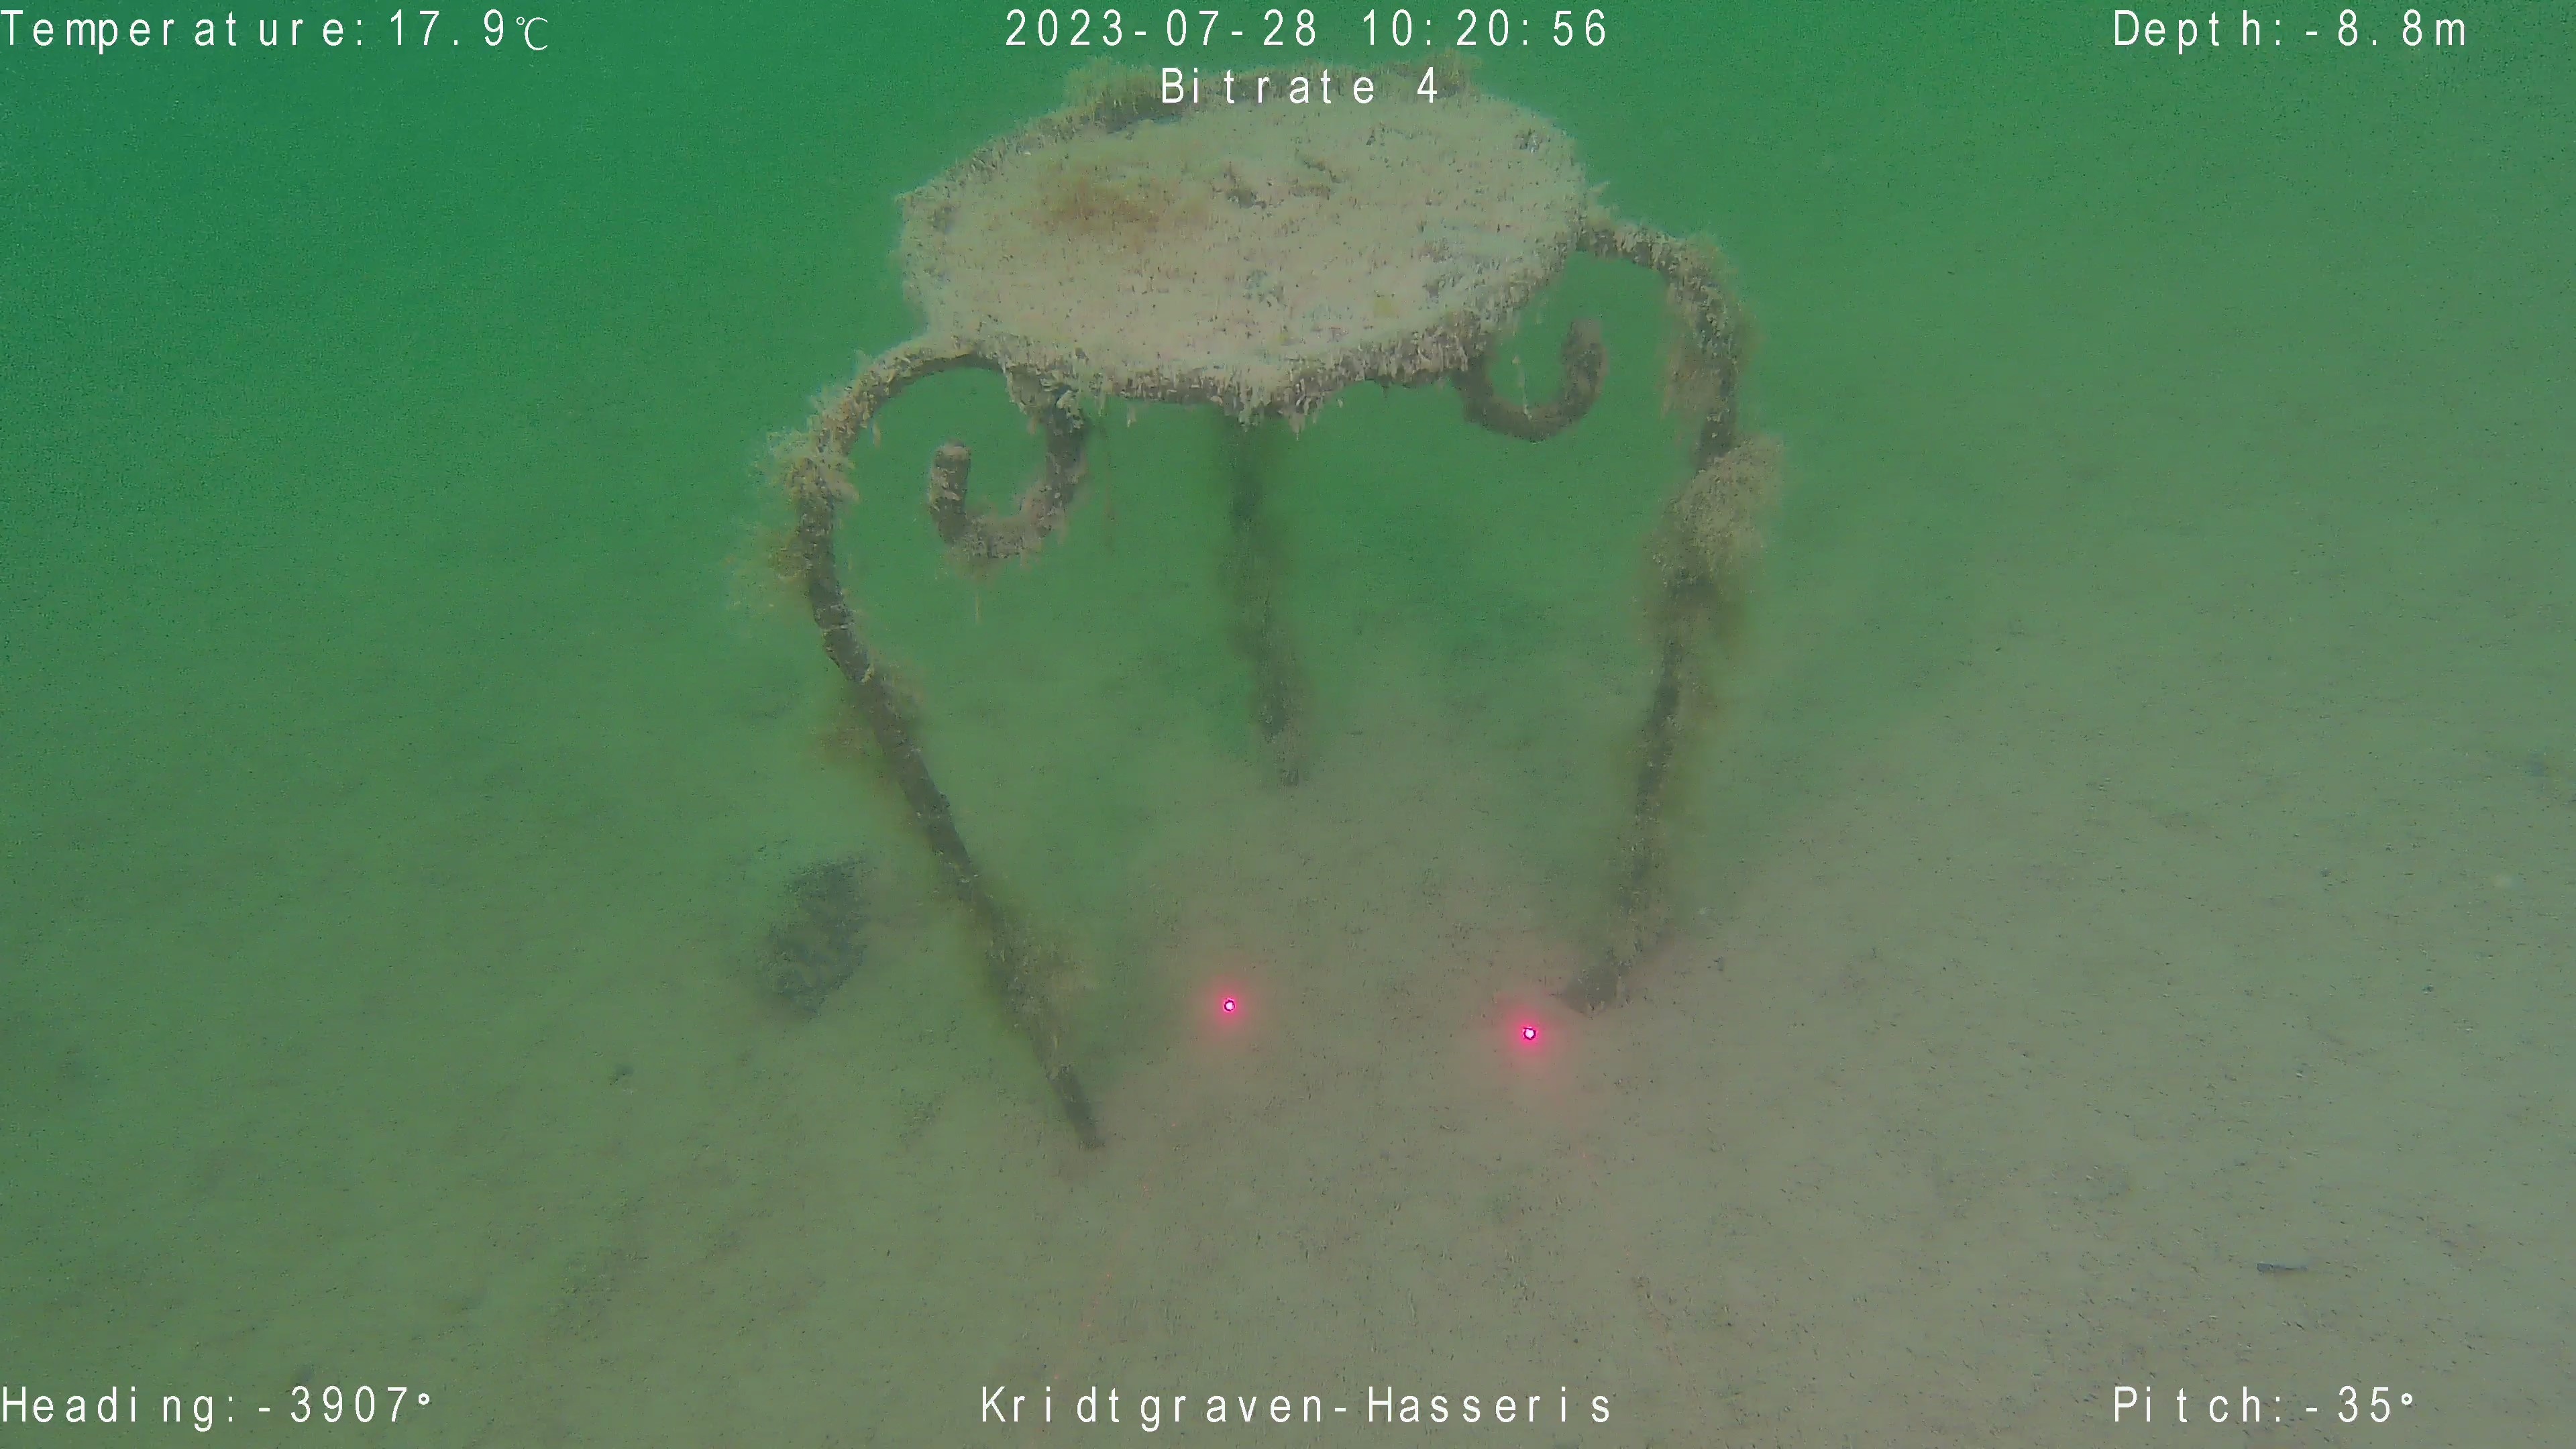
Reference object in frame with color compensation applied
After compensating for presence of green in the BGR image, we would run a white balance algorithm to bring up the intensity assumed “true” white colors present on marine life aswell as objects on the seabed where the “true” color of it might have been dulled or murked/masked by marine snow, sediment or perhaps just a hue of other colors from the dense and murky water that make up the danish sea environments.
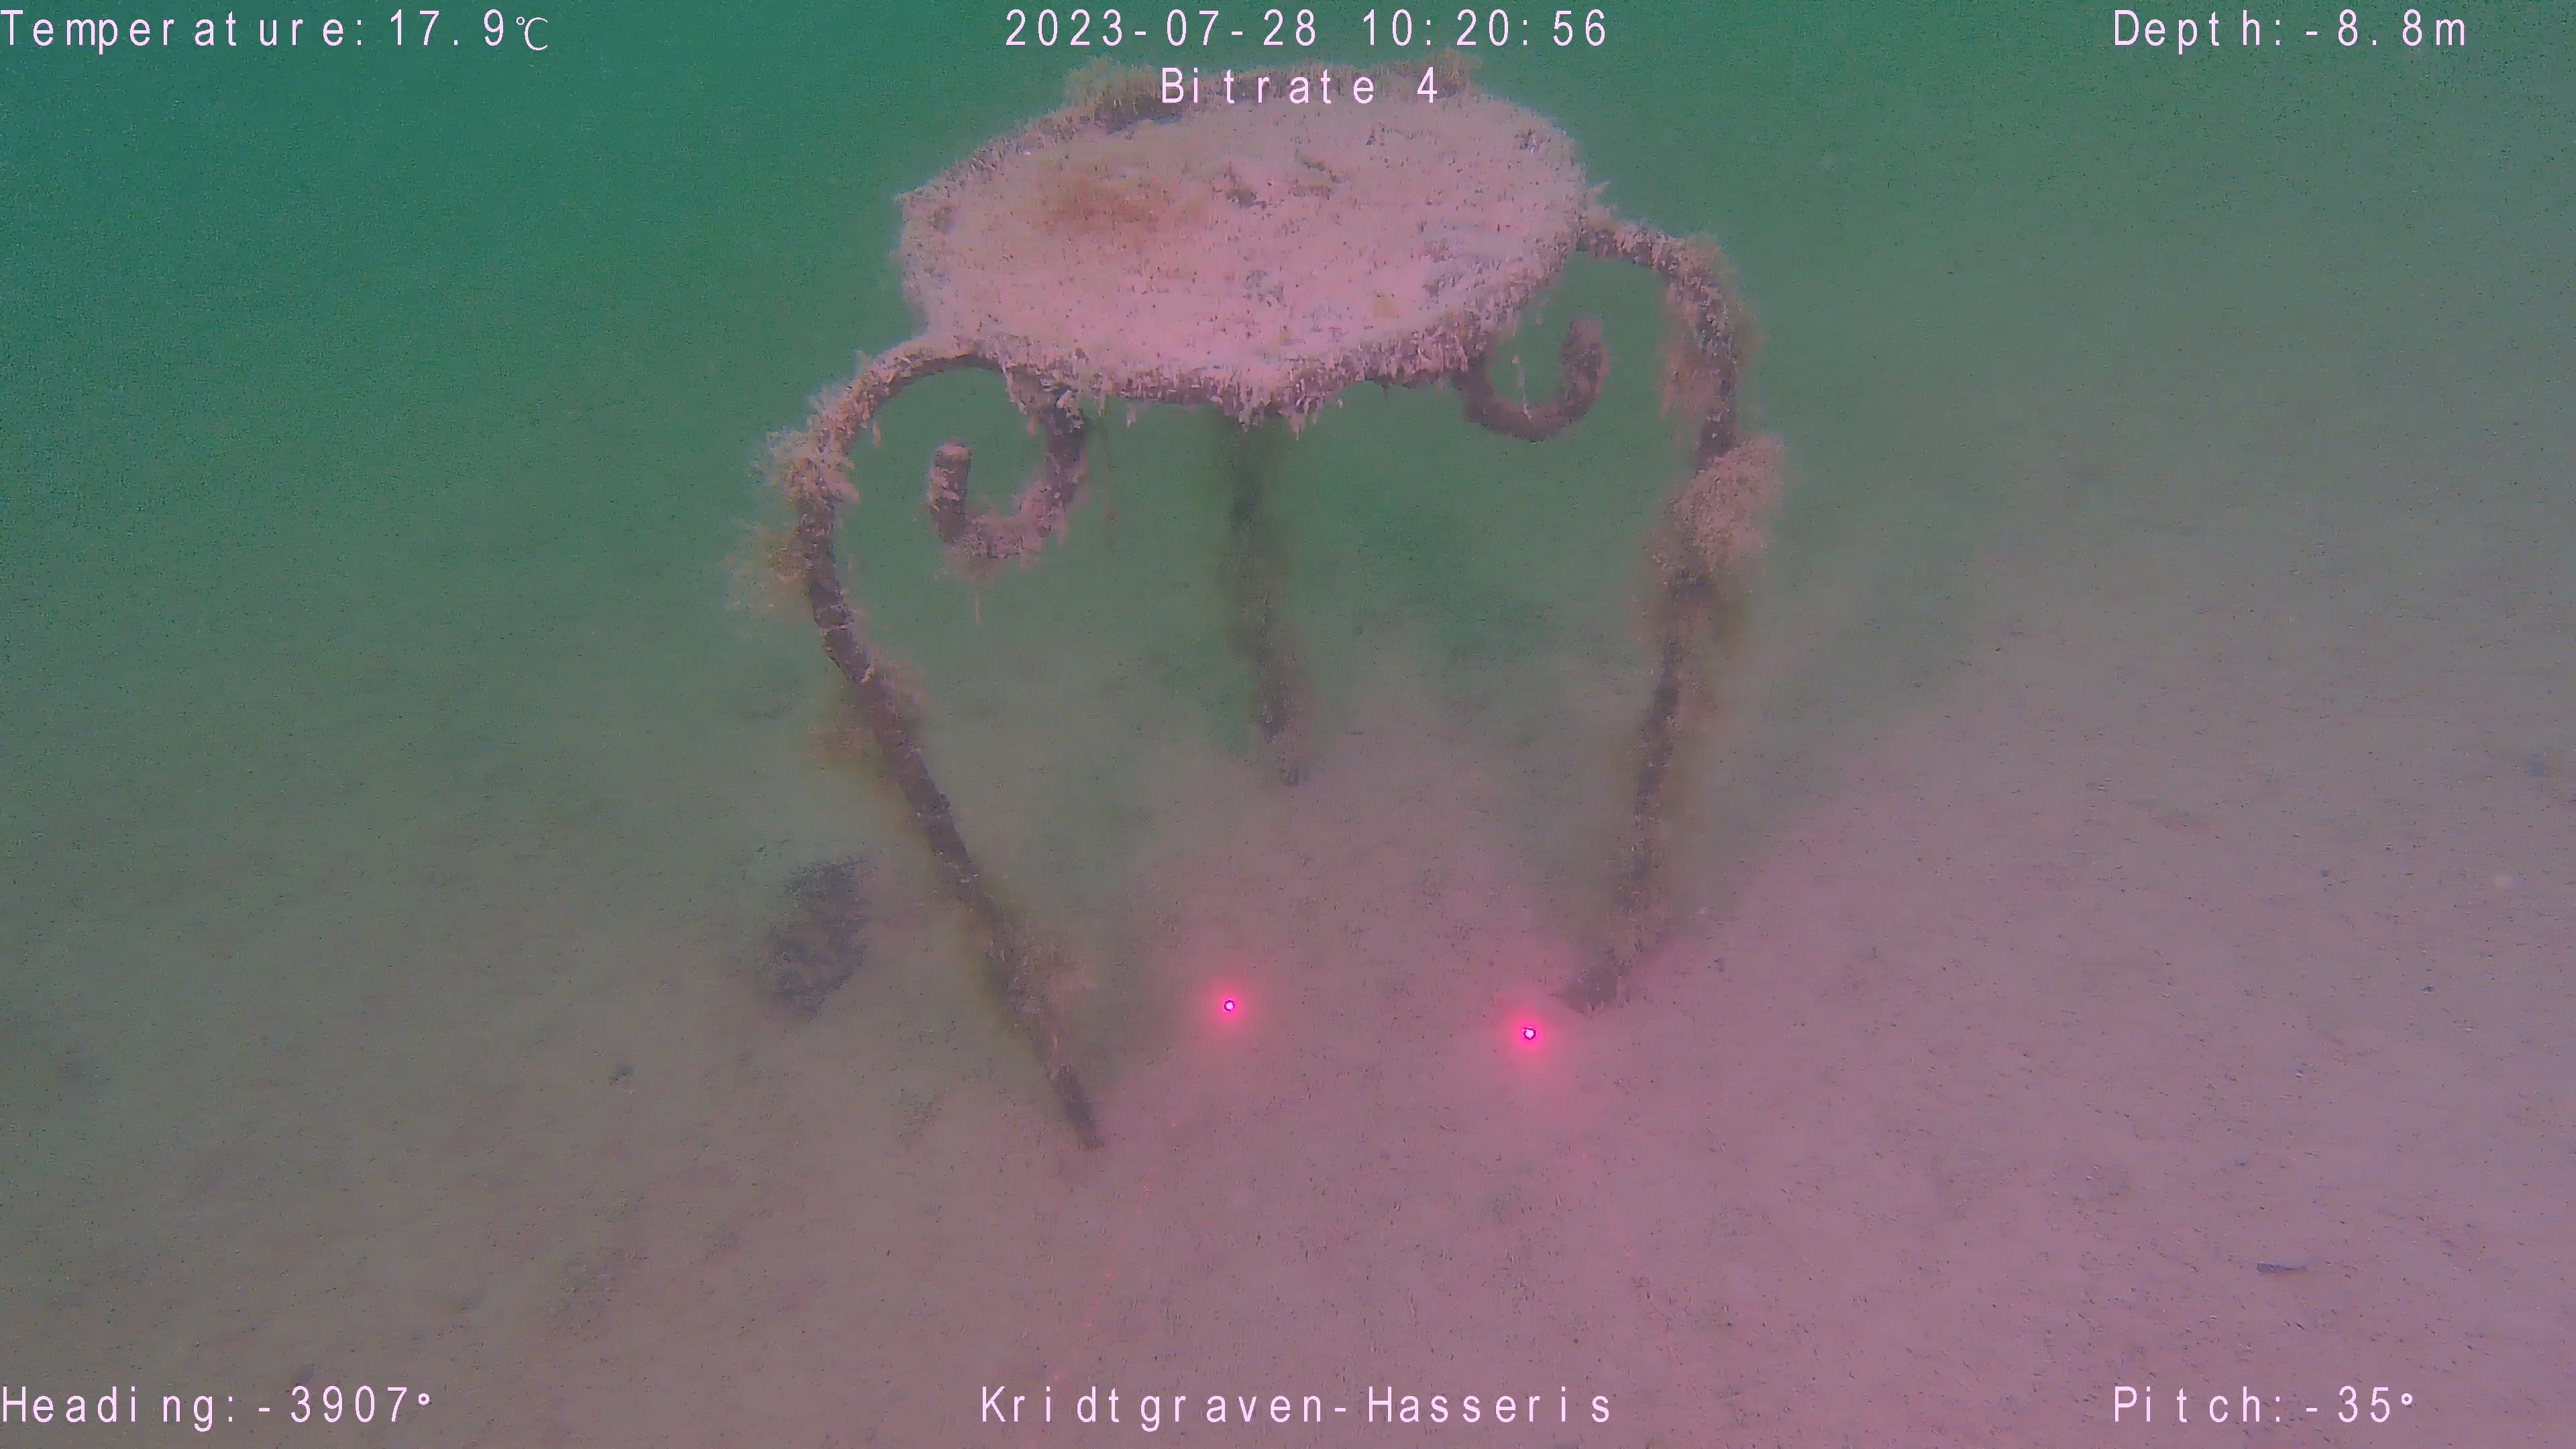
White balance applied
From here this becomes a slightly more complex approach and I won’t go too far in depth with color spaces and algorithms for this post (maybe in the future), but the next step is to apply CLAHE (Contrast Limited Adaptive Histogram Equalization). We apply it to the image from the video but converted from the RGB/BRG color domain to the LAB color domain. This is because the LAB (Lightness, A-channel, B-channel) color space arranges its colors and values in a way that simulates color perception in the human brain (and eyes I guess). A great benefit of using this color space is that the channels are independent of each other meaning the perceptual lightness channel can be altered/modified without changing the colors.
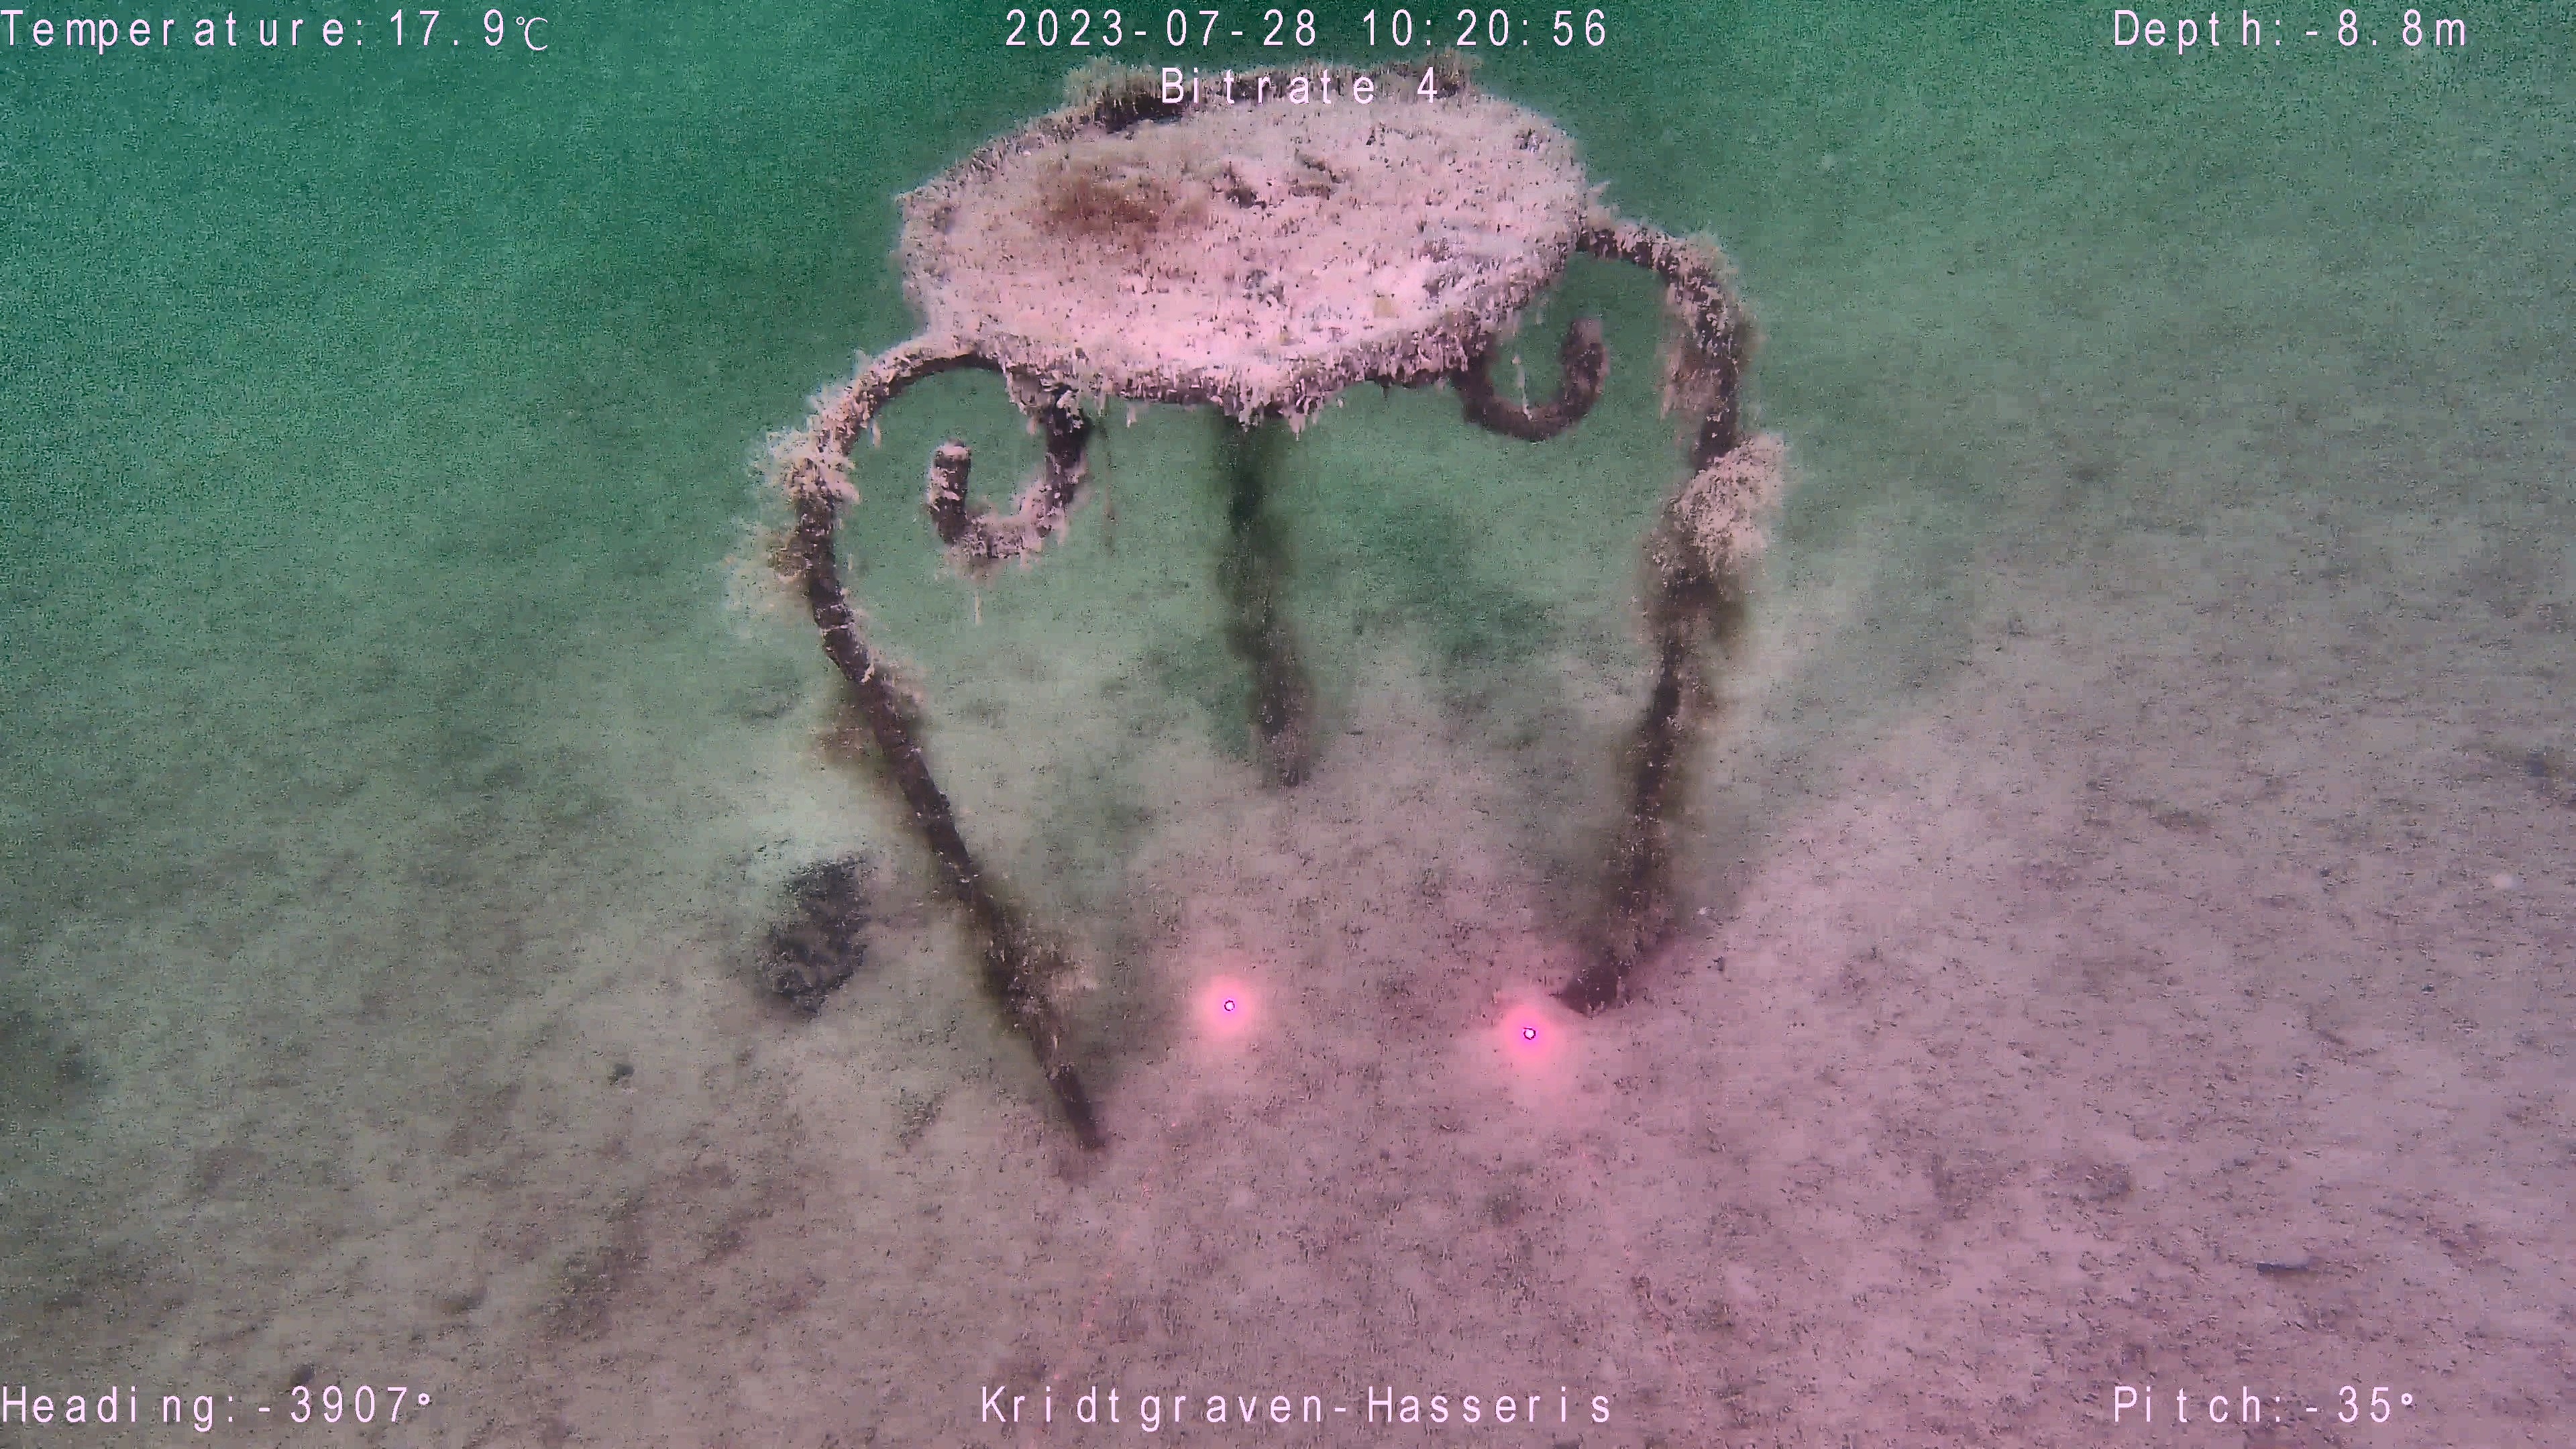
Contrast Limited Adaptive Histogram Equalization (CLAHE) applied
In the end the difference can be seen by comparing the input and output frames side to side:
Left: Input frame, Right: Output frame
Performance
While the difference between the aforementioned results are pretty good for a beginner project (not to forget it is a third semester project on a minor in Robotics), there is a lot to be said about the performance of the algorithms and the goal of the project. The above is all for processing a single frame (a still image) and the goal was to make visibility better when reviewing the footage so that marine biologists at Aalborg University could see the marine life and environment better which means processing all frames within the video. This proved to be a massive undertaking as the Python wrapper for OpenCV is not fast and efficient. This resulted in the group and I reduced the scope to writing a scientific report on what we had learnt regarding color theory, the behavior and physics of light, marine biology and more.
After the project, however, I started looking toward C# as a stepping-stone to eventually grasp OpenCV in C++ (this could be a future project) and began work on an application in Windows Forms that could process the video live while playing, which means not only could you display the input and output side to side as it was playing (assuming the post-processing was not too computationally expensive on your hardware) which meant live image processing during drone operation could, in theory, be possible.
The C# Approach
After setting up the UI my application allows you to see the input on the left and the output on the right. Through buttons, dropdowns, checkboxes and other interactive elements you can alter in what order the post processing happens, what color spaces to utilize, etc. The app uses EmguCV (a C# wrapper of OpenCV) to apply the same methods that were used in Python (color compensation, white balance, CLAHE and convertion to LAB) and this is something that I achieved to a high degree (for the goals I had set myself). First of all I multi-threaded the application so that you can run video playback on one thread (for the video input) and post-processed video playback on a different thread (which also ran the post-processing algorithms). Getting the multithreading correct was crucial and to keep in sync with the input video I time and compare the speed of the playback. If the output video is behind it simply drops frames to catch up with the input. This of course can be problematic if you need as many frames as possible which leaves two options: Run the application on hardware that can better process video frames or configure the post processing to not be as expensive on your hardware.
This is something I tried to resolve by looking into utilizing CUDA (Compute Unified Device Architecture) cores from the GPU instead of utilizing the CPU, but I never figured out how to do this with EmguCV and ended up feeling like I had achieved something impressive nonetheless. My standpoint now is that the app is not the most ideal version of what it could be compared to doing all of this in C++ in which OpenCV is also written and then combine it with Dear ImGui to create a minimalistic user interface. Again this could be a future project.
I apologize for not including screenshots or videos of the aforementioned application I wrote. I now only run Linux and have no Windows machine which means I can’t run the program as it utilizes Windows Forms which is not cross-platform to my understanding. The source code is available on my GitHub on the top of this page, or alternatively just click [3], the same goes for the third semester project code which can also be viewed on the given [4].
Thank you for reading. This is my first blog post, and I know it’s a little rough around the edges, but I hope it inspires someone and I look forward to posting more.